Most website projects go off-track for one simple reason: the content isn’t ready. Designers can create beautiful layouts, but the real power of a website comes from clear, organised, purposeful content. That’s why website content planning is one of the smartest steps you can take before you hire a designer.
This guide walks through seven essential steps to prepare your content so your project runs smoothly, your messaging stays consistent, and your final website actually supports your business goals. Whether you’re building a small three-page site or something more complex with ecommerce and integrations, effective website content planning helps you start strong.
Table of Contents
Why website content planning matters
Good design gets attention. Good content earns trust.
When you invest time in website content planning, you make it easier to:
- Avoid repeated revisions
- Give your designer a clear direction
- Structure a website that aligns with business goals
- Identify gaps in messaging
- Decide which website package truly fits your needs
Many small businesses jump straight into design and only think about the words and visuals later. But content drives structure, not the other way around. Planning ahead gives your designer everything needed to build a layout that supports your message — rather than forcing your message to fit a layout.
7 Essential Steps to Plan Your Website Content Before You Hire a Designer
These steps form a practical website content planning framework you can use for any project, no matter the size.
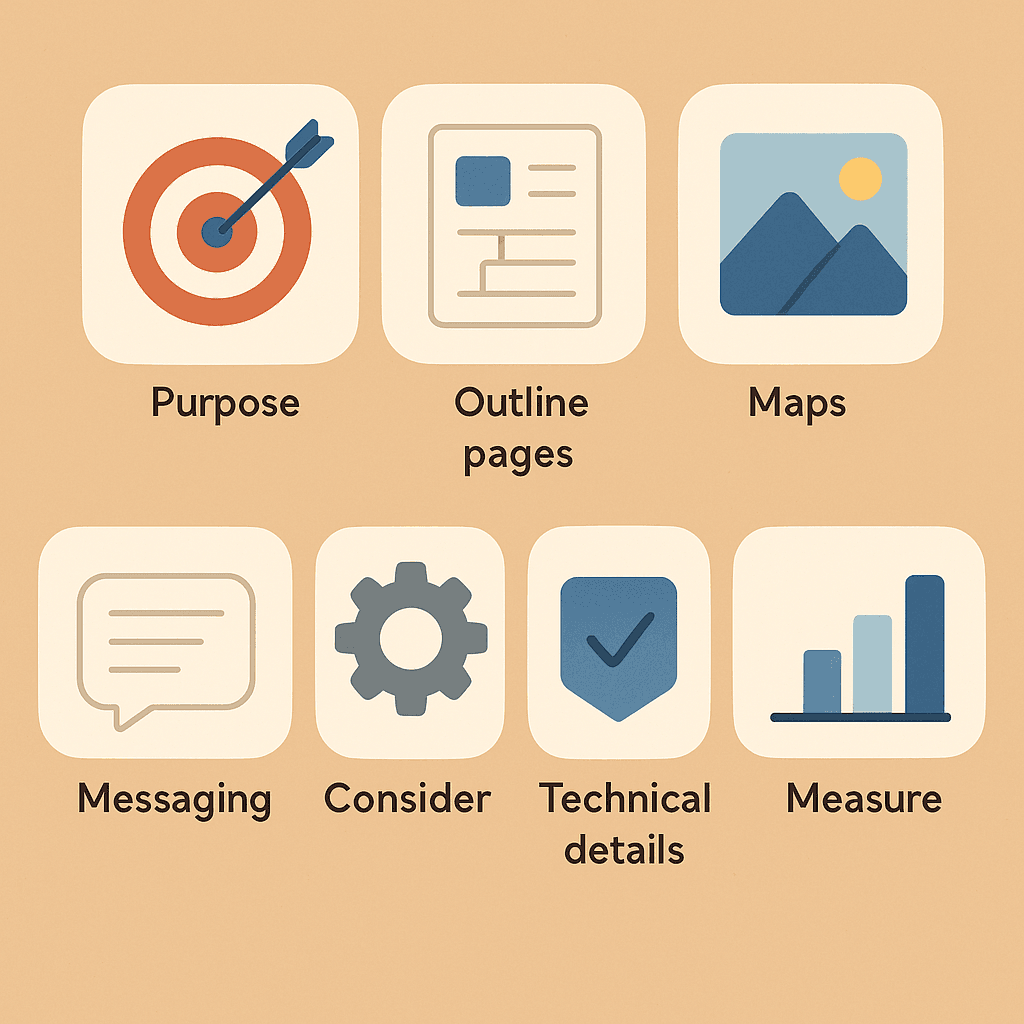
Step 1: Clarify your website’s purpose
Every strong website starts with a clear purpose. Ask yourself:
- What do you want visitors to do?
- What should they understand within the first 10 seconds?
- What action matters most (contact, call, buy, book, learn)?
Write down one primary goal and a couple of secondary goals. Designers use this information to shape layouts, emphasise key elements, and remove distractions. Without a clear purpose, website content planning becomes guesswork — and the final site often feels unfocused.
Step 2: Outline your must-have pages
Before writing content, decide what pages your site realistically needs.
Common small business pages include:
- Home
- About
- Services or Products
- Contact
- FAQ
- Portfolio / Case Studies
- Blog
This step prevents confusion later and helps you choose a suitable build size. For example:
- A Basic package (3 pages) works well for businesses with simple service offerings.
- A Standard package suits businesses needing ecommerce or multiple product pages.
- A Premium package is often ideal for deeper storytelling, extensive product structures, or larger content plans.
Clear website content planning often reveals that businesses either need fewer pages than expected — or far more.
Step 3: Map the content for each page
Now sketch the structure of each page. This is where website content planning becomes practical.
For each page, outline:
- Headline — what your visitor must know instantly
- Key message — the main value you offer
- Support text — details, examples, or context
- Proof — reviews, stats, images, awards
- Call-to-action — what you want visitors to do next
These outlines help you see what’s missing long before the designer starts. Even bullet points are enough to guide layout decisions.
Step 4: Gather your visual content
The quality of your visuals influences credibility. During website content planning, make a list of the visual assets you need, such as:
- Team photos
- Product images
- Before-and-after examples
- Logos and brand colours
- Workplace or location photos
If you don’t have strong visuals, note what needs to be photographed or designed. This prevents delays during development and ensures your designer can build layouts that support your content.
Step 5: Draft your brand messaging
Brand messaging shapes the tone of the entire website. It isn’t just what you say — it’s how you say it.
During your website content planning, define:
- A one-sentence value statement
- A short “about” message
- Key phrases your customers often use
- Your preferred tone (friendly, formal, simple, bold)
- Words you avoid
This helps your content stay consistent across all pages and reduces rewriting during the design stage.
Step 6: Collect your technical essentials
A designer needs certain details before development can begin. Instead of scrambling later, prepare them during your website content planning process.
Gather:
- Domain login or preferred domain names
- Hosting access (if already purchased)
- Email addresses for forms
- Social profiles
- Any integrations (email marketing tools, payment gateways, calendars, booking platforms)
More feature-rich builds — such as Standard or Premium sites — often involve autoresponders, ecommerce, or extra integrations. Planning these early prevents roadblocks later.
Step 7: Define what success looks like
Success is different for every business. During website content planning, decide what you will measure after launch.
Your success criteria might include:
- More enquiries or calls
- Higher time spent on key pages
- A smoother checkout process
- Clearer service explanations
- Faster website loading times
Share these metrics with your designer so they can build a website aligned with your expectations.
Common mistakes to avoid
Some mistakes appear in almost every rushed website project:
- Writing content after the design is finished
- Overstuffing pages with text
- Copying competitor content without a clear strategy
- Forgetting visual assets until the last minute
- Choosing an ecommerce website without planning product content
Most of these problems vanish with a structured website content planning approach.
Mini Scenario: A solo service provider
A one-person plumbing business wants a website. Initially, they believe they need six pages, a portfolio, and blog functionality. But once they complete their website content planning, they realise:
- Their service descriptions only require two short sections
- They don’t need ecommerce or complex integrations
- A simple contact form is enough for conversions
In the end, a small 3-page structure fits perfectly. Because their content was fully planned, the designer finished the website quickly — with fewer revisions and a clearer message.
How to choose the right website package after planning your content
Once your website content planning is complete, choosing the right package becomes clearer. Ask:
- Does your content fit naturally into 3, 6, or 12 pages?
- Do you need ecommerce functionality?
- Will you need autoresponders or integrations?
- Do you need more design customisation?
- Will your website expand soon?
This helps you select the appropriate level of support and build complexity, whether that’s a simple Basic site or a more extensive Premium build.
Conclusion
Strong websites don’t start with design — they start with clear, structured content. With thoughtful website content planning, you save time, reduce revisions, and give your designer everything needed to create a smooth, professional experience for your visitors.
These seven steps help you enter any website project prepared and confident. Whether you’re building a small informational site or something more advanced, the right planning ensures your website supports your goals today — and grows with your business tomorrow.