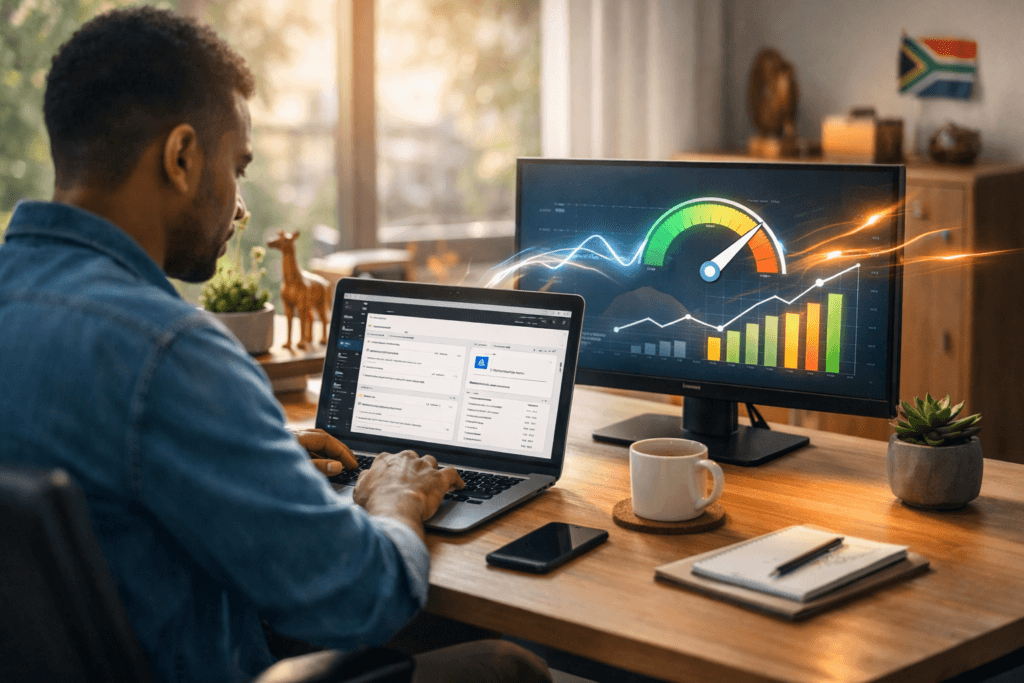
LiteSpeed Cache settings can make a WordPress website faster, but they can also feel risky when you are running a business site and do not want to break forms, layouts, carts, bookings, or tracking.
Table of Contents
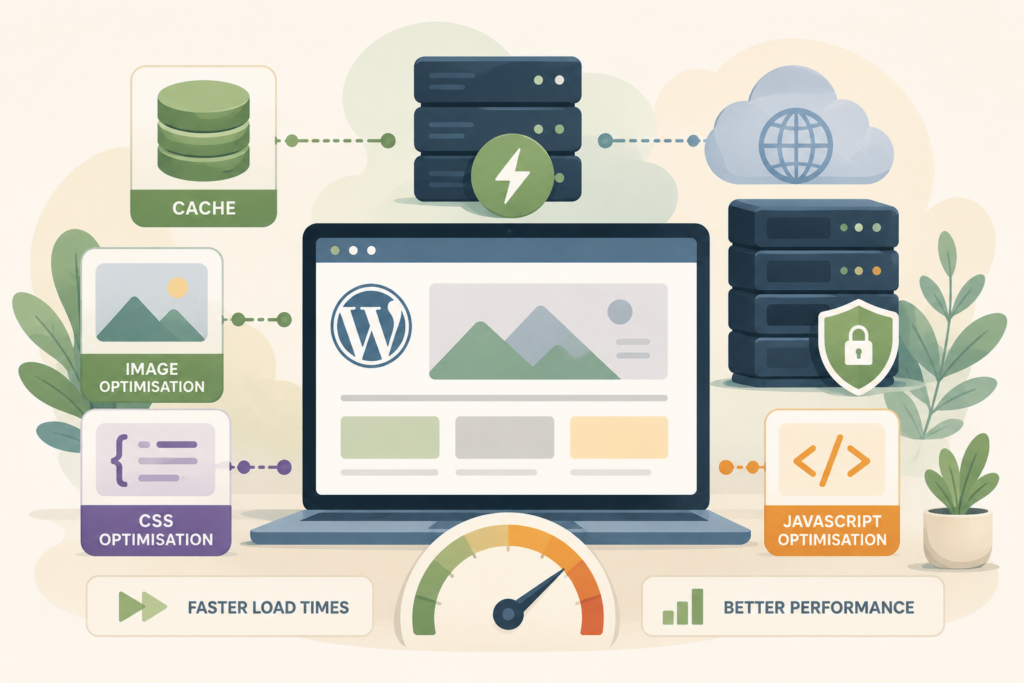
The LiteSpeed Cache plugin is powerful because it combines server-level caching with optimisation features such as image optimisation, CSS optimisation, JavaScript handling, database tools, and CDN options. The plugin listing describes LiteSpeed Cache for WordPress as an all-in-one site acceleration plugin with server-level cache and optimisation features.
This guide explains LiteSpeed Cache settings in plain English for starter businesses and small business owners. It is not a deep developer manual. It is a practical guide to what the main settings do, which ones are safer to understand, and when to get help before changing too much.
Think: caching should make your website feel faster, not turn your site into a guessing game.
What LiteSpeed Cache Settings Actually Do
LiteSpeed Cache settings control how your WordPress website stores, serves, and optimises content.
When a visitor opens a page, WordPress normally has to gather information from the database, load theme files, run plugins, process code, and send everything to the browser. That can take time.
Caching reduces some of that work.
Instead of rebuilding the same page from scratch for every visitor, the site can serve a prepared version faster. That is the simple idea behind cache.
LiteSpeed Cache settings can affect:
- Page caching
- Browser caching
- Logged-in user caching
- Mobile caching
- Image optimisation
- CSS optimisation
- JavaScript optimisation
- Database clean-up
- Object cache
- CDN integration
- Cache purging
- Debugging and testing
Not every business website needs every feature switched on. In fact, the safest LiteSpeed Cache settings are usually the ones chosen for your website’s actual setup, theme, plugins, forms, hosting, and traffic.
Why LiteSpeed Cache Settings Matter for Business Websites
A small business website is not just a collection of pages. It may be how customers find you, trust you, contact you, book a call, request a quote, or buy from you.
That means website performance matters.
Google explains Core Web Vitals as metrics that measure real-world user experience for loading performance, interactivity, and visual stability. Google also recommends that site owners achieve good Core Web Vitals for search success and user experience.
LiteSpeed Cache settings can support better website performance by helping pages load faster and reducing unnecessary server work. But the goal is not to turn on every option.
The goal is a fast, stable website.
For a starter business, good WordPress cache settings should help with:
- Faster page loading
- Better visitor experience
- Less server strain
- More stable traffic handling
- Smoother browsing on mobile
- A stronger technical foundation for SEO
- Fewer performance problems as the site grows
If your website is hosted on LiteSpeed servers, the LiteSpeed Cache plugin can be especially useful because it works closely with the hosting environment. VV Rapid’s LiteSpeed WebServer Hosting is designed around this type of faster hosting foundation.
Start With a Backup Before Changing Settings
Before adjusting LiteSpeed Cache settings, take a website backup.
This matters because performance settings can sometimes affect how a website looks or behaves. CSS optimisation might change styling. JavaScript optimisation might affect sliders, menus, forms, maps, bookings, payment buttons, or analytics scripts.
A backup lets you recover if a change causes problems.
At minimum, confirm that you have:
- A recent full website backup
- Database backup
- Access to your WordPress admin area
- Hosting control panel access, such as cPanel
- A way to clear cache
- A list of pages and forms to test after changes
VV Rapid’s LiteSpeed hosting page references daily backups, which is helpful for business websites that need a safer performance setup. Still, always confirm the restore process before making major changes.
Safe LiteSpeed Cache Settings Most Business Owners Should Understand
You do not need to understand every advanced option. Start with the settings that have the biggest practical impact.
Cache
The main cache setting controls whether pages can be cached.
For most public business pages, caching is useful. Your homepage, about page, service pages, blog posts, and contact page can often benefit from page cache.
However, some pages need special care. Ecommerce carts, checkout pages, account pages, booking flows, membership areas, and dynamic quote tools may need exclusions.
LiteSpeed’s official documentation includes cache settings for different situations, including options related to logged-in users and private cache.
For a starter business site, the plain-English rule is:
Cache public pages. Be careful with pages that change based on the user.
Browser Cache
Browser cache tells a visitor’s browser to keep certain files for a period of time, such as images, CSS, and JavaScript.
This means repeat visitors do not need to download everything again.
Browser cache is usually useful for business websites because logos, images, style files, and scripts do not change every minute. It can help returning visitors load the site faster.
Cache Purge
Purge means clearing cached versions so visitors see the latest content.
This matters when you update a page, publish a blog post, change pricing text, update service details, edit menus, or adjust design.
Most business owners should know where the purge button is. If you make a change and cannot see it on the front end, clear the cache before assuming the edit failed.
Mobile Cache
Some websites serve different layouts or features on mobile.
If your theme or plugin creates a different mobile experience, mobile cache settings may matter. If your site is fully responsive and uses the same content across devices, the default setup may be fine.
After changing LiteSpeed Cache settings, always test on a real phone, not only a desktop browser.
Image Optimisation
Image optimisation can reduce file sizes and improve loading speed.
For small business websites, this is often one of the most useful performance areas because many slow pages are image-heavy. Large hero images, team photos, product images, gallery images, and blog graphics can all slow things down.
Image optimisation should be handled carefully when image quality matters. A photographer, restaurant, designer, property business, ecommerce store, or portfolio site may need a more careful balance between quality and compression.
Database Optimisation
WordPress stores revisions, drafts, comments, transients, plugin data, and other database items.
Database optimisation can clean unnecessary clutter, but it should not be treated casually. Do not delete things you do not understand without a backup.
For starter businesses, database clean-up is useful occasionally. It should not be your first performance move.
LiteSpeed Cache Settings to Treat Carefully
Some LiteSpeed Cache settings can improve speed but also cause visible issues if used without testing.
CSS Optimisation
CSS controls styling.
CSS optimisation may include minifying CSS, combining files, loading CSS asynchronously, or generating critical CSS. These settings can reduce file size and improve loading, but they can also affect layout.
Watch for:
- Broken headers
- Missing spacing
- Incorrect fonts
- Buttons shifting
- Mobile layout problems
- Above-the-fold content looking strange
CSS optimisation can be useful, but test key pages after every change.
JavaScript Optimisation
JavaScript controls interactive features.
JavaScript optimisation can affect menus, popups, forms, sliders, analytics, live chat, booking tools, ecommerce carts, and payment features.
This is the area where many business owners accidentally break something important.
Be careful with settings such as delaying JavaScript, deferring JavaScript, or combining JavaScript files. These can help page speed optimisation, but they need testing.
Object Cache
Object cache can help database-heavy websites by storing repeated database queries.
LiteSpeed documentation explains that object cache can be configured in the LiteSpeed Cache settings when using supported systems such as Memcached, Redis, or LSMCD.
For many starter business websites, object cache is not something to enable blindly. It depends on hosting support and site complexity.
Use object cache when your host supports it and your developer or maintenance team has confirmed it is suitable.
CDN and QUIC.cloud Settings
A CDN can serve website assets from locations closer to visitors. This may help websites with visitors in different regions.
For a local service business serving one city or region, CDN benefits may be smaller than for a global ecommerce site or international content brand.
If your audience is spread across South Africa, the UK, Europe, Australia, New Zealand, or the UAE, CDN planning may be more useful. But it should still be configured properly.
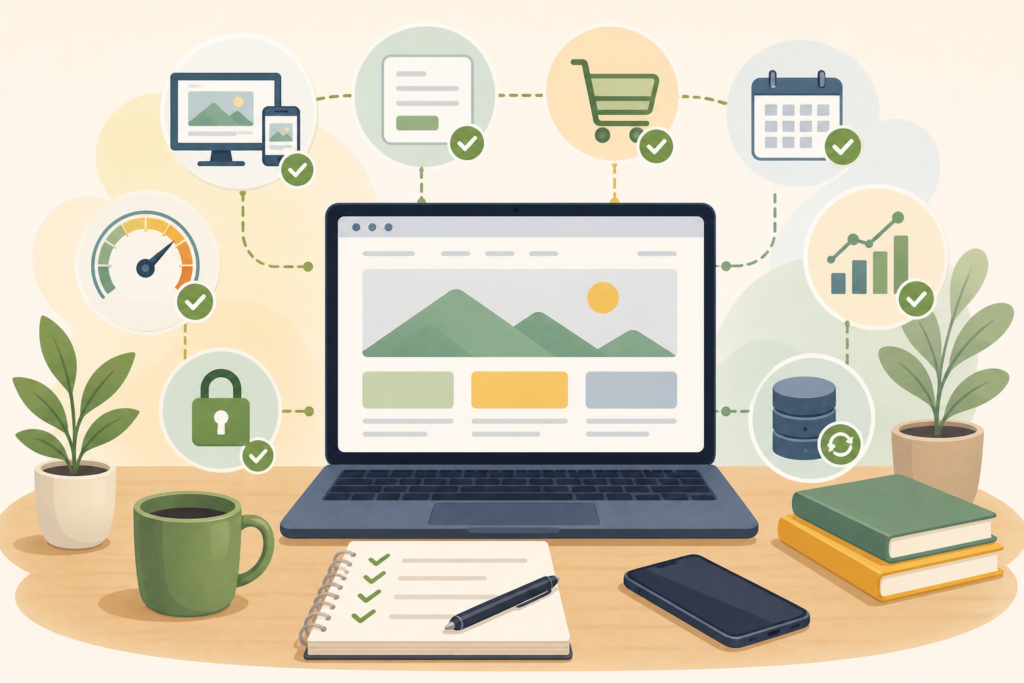
A Practical LiteSpeed Cache Settings Checklist
Use this checklist before and after changing LiteSpeed Cache settings:
- □ Take a full website backup
- □ Confirm you can access WordPress admin
- □ Confirm hosting access or cPanel access
- □ Update plugins and theme carefully
- □ Enable page cache for public pages
- □ Exclude cart, checkout, account, and booking pages where relevant
- □ Enable browser cache if appropriate
- □ Optimise images, but check quality
- □ Test CSS optimisation one setting at a time
- □ Test JavaScript optimisation one setting at a time
- □ Clear cache after major changes
- □ Test the homepage
- □ Test main service pages
- □ Test blog pages
- □ Test contact forms
- □ Test quote forms
- □ Test mobile menus
- □ Test checkout or booking pages
- □ Check analytics and tracking
- □ Check page speed before and after changes
- □ Keep notes of what changed
This checklist helps prevent the biggest mistake: changing ten settings at once and then not knowing what caused the issue.
How to Test After Changing LiteSpeed Cache Settings
Testing matters more than guessing.
After adjusting LiteSpeed Cache settings, check your website as a visitor would.
Start with:
- Homepage
- Main service page
- Contact page
- Blog post
- Landing page
- Checkout page, if relevant
- Booking page, if relevant
- Mobile menu
- Contact form
- Search function
- Live chat or WhatsApp button
- Analytics events
- Cookie banner
Use more than one browser if possible. Check desktop and mobile. Open the site in an incognito window so you can see what a new visitor sees.
Also test speed. Google’s Core Web Vitals report in Search Console uses real-world usage data, which is useful for understanding how visitors experience your pages over time.
Do not judge performance from one test only. Speed can vary depending on location, connection, server load, caching state, and page content.
Common Mistakes With LiteSpeed Cache Settings
Turning on every setting
More settings do not always mean a faster website.
Some optimisation features overlap with your theme, page builder, CDN, security plugin, or other caching plugin. Too much optimisation can create conflicts.
Using multiple caching plugins
Running multiple caching plugins can cause strange issues.
For most WordPress sites, choose one main caching plugin and configure it properly.
Not testing forms
A site can look fine while the contact form is broken.
After changing LiteSpeed Cache settings, always test forms from a real device and confirm the email arrives.
Ignoring ecommerce exclusions
WooCommerce and other ecommerce tools need careful cache rules.
Cart, checkout, and account pages should not serve the wrong cached content to visitors. This is one of the most important areas to test.
Forgetting mobile
A desktop page speed test is not enough.
Many small business visitors browse from mobile devices. Test mobile layout, menus, buttons, forms, and page load.
Changing settings without a backup
This is avoidable.
Take a backup first. Then change settings gradually.
Focusing only on scores
Page speed scores are useful, but they are not the whole business goal.
A fast page that breaks enquiry forms is not a successful page. Website performance should support conversions, trust, and usability.
LiteSpeed Cache Settings and SEO
LiteSpeed Cache settings can support SEO by improving technical performance, but they do not replace SEO strategy.
Caching will not fix thin content, poor page structure, weak internal linking, unclear service pages, missing local signals, or a confusing user journey.
What caching can do is help your website load faster and feel smoother, which supports the user experience side of SEO.
For a stronger search foundation, connect website performance with content, technical SEO, internal links, page structure, metadata, and conversion paths, see Search Engine Optimisation.
A simple way to think about it:
LiteSpeed Cache settings help your site move faster. SEO helps the right people find and understand it.
When to Ask for Help
Business owners can understand the basics of LiteSpeed Cache settings, but not every setting should be handled alone.
Get help when:
- Your site uses WooCommerce
- Your site has bookings or memberships
- Forms stop working
- The layout changes unexpectedly
- Mobile menus break
- Tracking stops firing
- You use several third-party scripts
- You are unsure about object cache
- You need staging before changes
- You cannot afford downtime
This is where website maintenance and hosting support work together. Hosting gives the site a strong foundation. Maintenance keeps WordPress, plugins, backups, security, and performance under control.
VV Rapid’s Website Maintenance & Care can help keep business websites healthier after the hosting and caching foundation is in place.
How VV Rapid Can Help
VV Rapid’s LiteSpeed WebServer Hosting gives small business websites a faster hosting foundation with LiteSpeed servers, caching support, SSL, daily backups, cPanel access, migration help, and setup support.
For businesses using WordPress, that foundation can pair well with careful LiteSpeed Cache settings, performance checks, maintenance, and SEO.
VV Rapid can help you avoid the usual trial-and-error approach by aligning hosting, caching, website structure, and ongoing care.
Start with stable hosting. Tune the site carefully from there.
View VV Rapid’s LiteSpeed WebServer Hosting service or contact VV Rapid to discuss a practical setup for your website.
FAQ: LiteSpeed Cache Settings
What are LiteSpeed Cache settings?
LiteSpeed Cache settings control how the LiteSpeed Cache plugin stores, serves, and optimises WordPress website content. They can affect page cache, browser cache, images, CSS, JavaScript, database clean-up, object cache, and CDN options.
Should business owners change LiteSpeed Cache settings themselves?
Business owners can safely understand the basics, but advanced settings should be changed carefully. Always take a backup, change one area at a time, and test forms, mobile menus, checkout pages, bookings, and analytics after changes.
Can LiteSpeed Cache settings break a website?
Yes, some settings can affect layouts, forms, scripts, carts, tracking, or mobile menus. CSS optimisation and JavaScript optimisation are especially important to test carefully.
Do LiteSpeed Cache settings improve Core Web Vitals?
They can help improve performance, especially loading speed, but results depend on your hosting, theme, plugins, images, scripts, and page structure. Core Web Vitals should be tested over time using reliable tools.
Is LiteSpeed Cache only for WordPress?
LiteSpeed has cache solutions beyond WordPress, but the LiteSpeed Cache plugin is specifically popular for WordPress sites. The WordPress plugin includes server-level cache and several optimisation features.
Do I still need website maintenance if I use caching?
Yes. Caching improves performance, but website maintenance covers updates, backups, security checks, plugin health, forms, uptime, and ongoing fixes. Caching is one part of a healthy website setup.